
This article will provide a detailed tutorial on using Clash Verge, including how to import basic subscription links and some special features. Clash Verge is currently one of the most popular Clash proxy clients, with a simple, user-friendly interface and powerful proxy features.
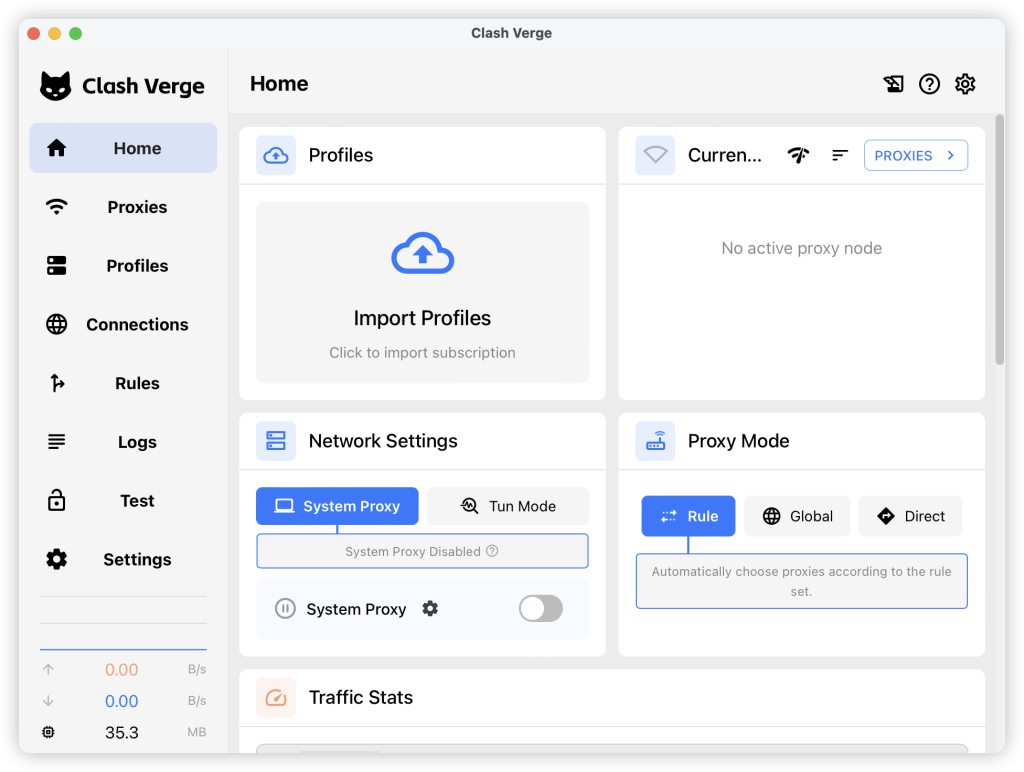
Once installed and opened, you should see the following interface:
Adding Subscriptions
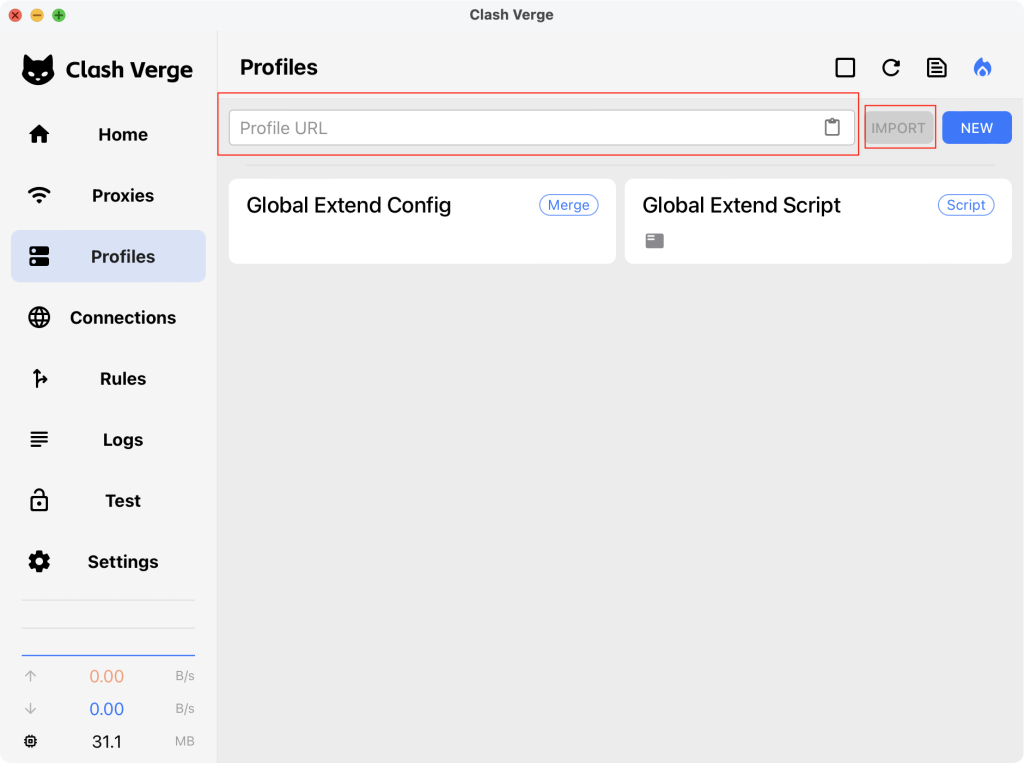
After launching the software, go to “profiles” on the left, and where you’ll see the URL is initially empty. Paste your Subscribe URL into “Profile URL”, and click “Import”, as the circles in red.
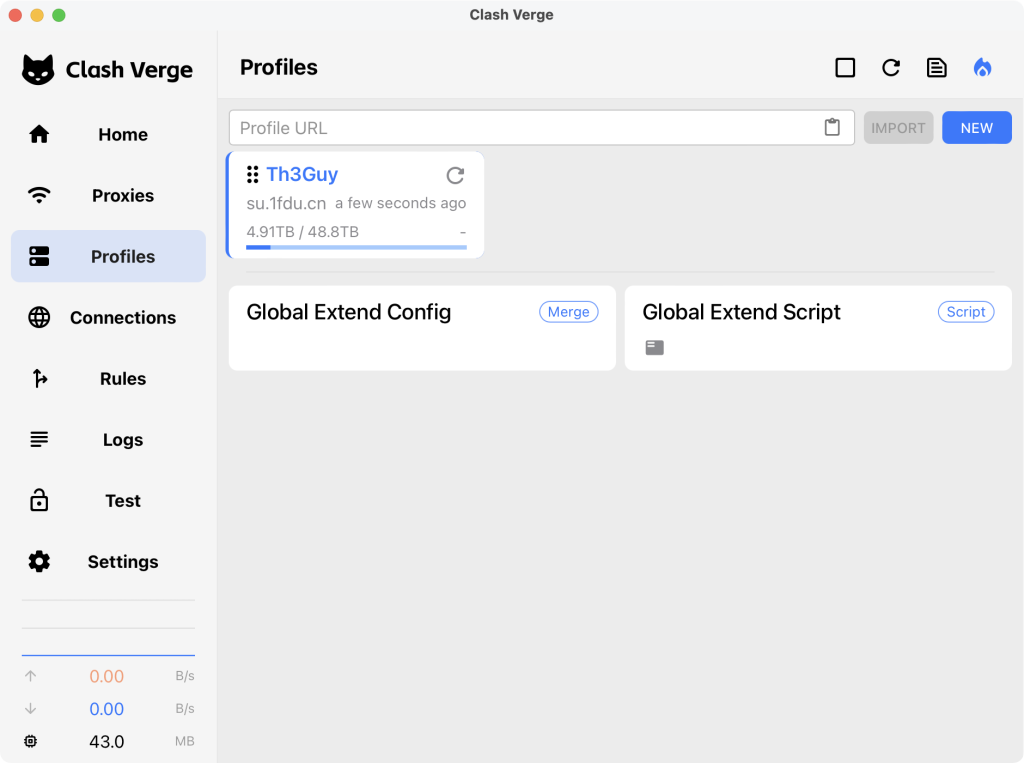
After adding successfully, you will see the subscription listed. By default, the current subscription is selected automatically. If not, you can manually select one by clicking it.
Choosing a Proxy
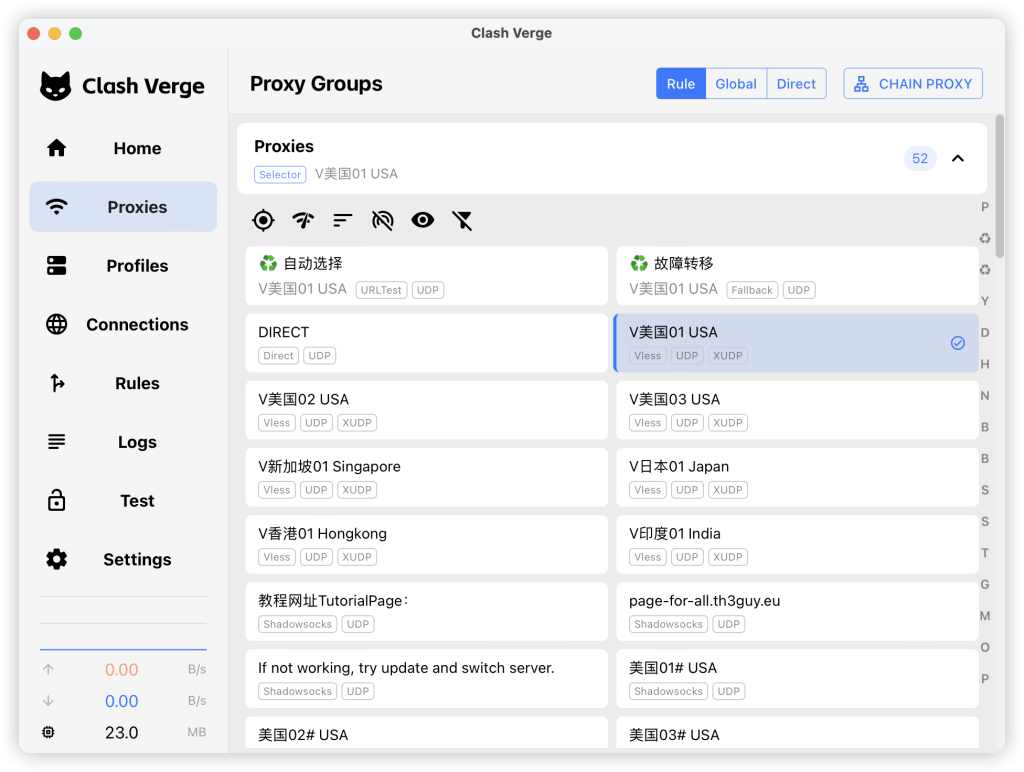
Once the subscription is imported, click “Proxies” on the left menu to view all proxy nodes from your subscription. Manually select a preferred node.
Enabling System Proxy
After selecting a proxy, you can enable the system proxy to start using the internet through it.
Go back to the homepage, where you can see the current settings, including subscription details and the selected proxy node. By enabling the “System Proxy” option. The app will be turning on.
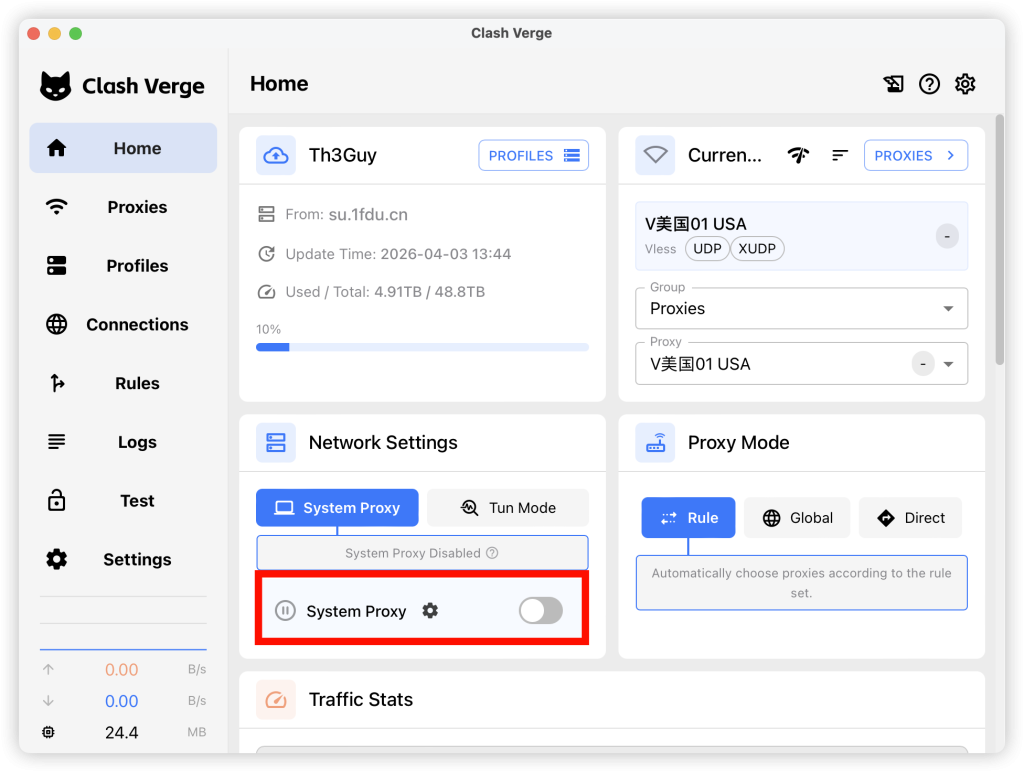
There are three proxy modes:
- Rule Mode: Only traffic that matches specific rules will go through the proxy. Domestic (local) traffic remains direct and unaffected.
- Global Mode: All network traffic, including domestic traffic, is proxied.
- Direct Mode: No traffic is proxied.